Welcome to CondoCosmetics INC.
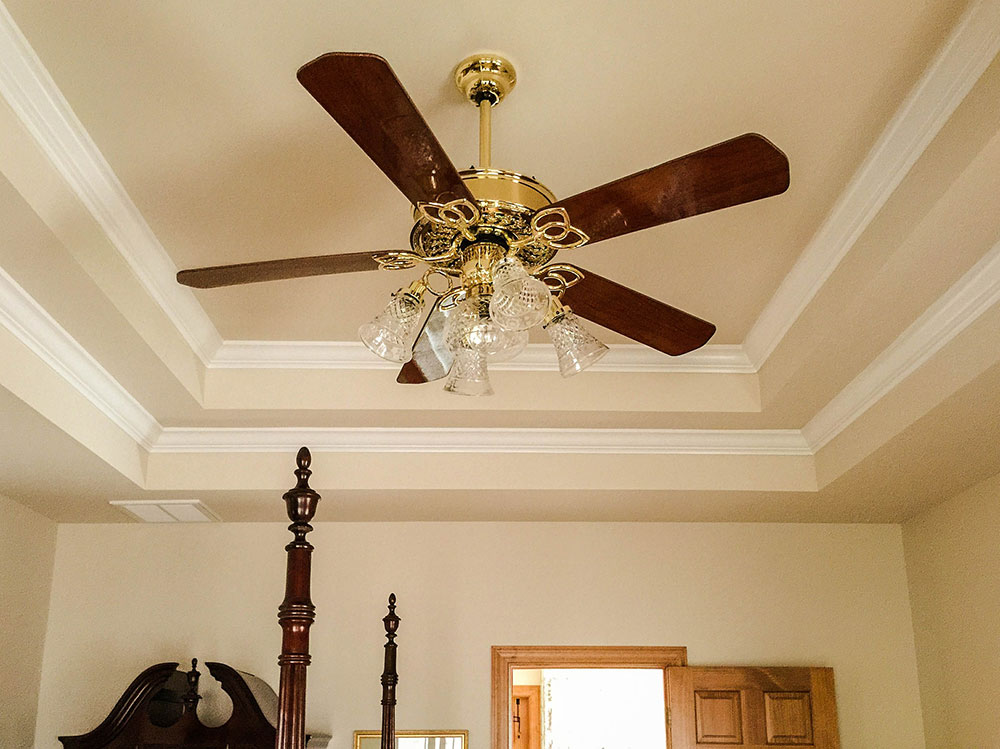
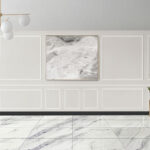
Are you seeking low-effort, low-cost methods to enhance the ambiance and value of your home? Consider crown moulding installation. We don’t have many home improvements that can give your house a luxurious appearance for so little effort and money. Adding crown molding to a medium-sized room can be done on a single weekend.
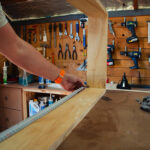
Ladders are always required for crown moulding installation. It’s a good idea to have an aid hold the end of the crown molding while you work on the rest of the molding. The assistant can either stand on a ladder or use a pole to control the crown.

Make a note of the length of all the walls in the space. Crown molding can be used to construct a 165 square-foot room by using 12 feet for each short wall and two sections of 8 feet for each long wall.
Purchase enough crown molding to completely cover the walls, with a little more for waste. Purchasing around 25% more molding than you require is a wise decision.
Measure and mark the crown molding piece before cutting. While a manual miter box and saw can be used to miter-cut crown molding, a power miter saw provides more precise cuts.
A 45-degree angle is utilized to cut crown molding instead of a straight line, as is the case when cutting construction lumber on a miter saw table with the workpiece flat against it. While the bottom edge of the molding rests against the saw’s vertical rear fence, its top edge will rest flat against the saw’s horizontal table. As you cut the crown molding, it will be placed at an angle.
For bare wood moldings, it is a good idea to apply a paint primer, and you should at least wait 1 hour before placing it on the wall.
Locate and mark each wall stud a few inches below the wall/ceiling connection with a stud finder and a pencil. When nailing up the crown molding, these marks will guide.
Ensure the crown molding is vertical before installing crown molding on the wall. Hire a second person to assist you while placing the molding on a second ladder. Take a step back and look at the wall from the center.
With the wall and ceiling at a 45-degree angle, the crown should fit perfectly (or 52-53 and 38 degrees from your wall and ceiling, it depends on the molding type). Ascertain sure the angle is exact before attempting the task. Most moldings’ top and bottom edges are flat, so they can be installed flush with the wall or ceiling. At the corners, you’ll notice that the angle isn’t right.
To secure the molding to the wall, use a power nailer to drive nails or brads through it.
It’s typical to see small gaps between the molding walls or ceilings because they are rarely entirely flat. Fill in the voids with a bead of paintable, flexible caulk. If there are any gaps left at the mitered corners, caulk can close them up.
You need to use painter’s tape on the top and bottom of the moldings to meet the wall and ceiling if you haven’t painted them yet. Let the paint dry before painting the rest of the moldings. If you think it is necessary, you can apply a second coat of paint to ensure thorough coverage. We at Condocosmetics are here to assist you in any way possible for crown moulding installation, Contact us now!