Welcome to CondoCosmetics INC.
Drywall installation is critical when we want to build a house and other construction projects. Construction of a base for painting or wallpapering was more time-consuming before the widespread usage of drywall. Depending on the actual size of your room and space, you can now easily install your drywall in a few hours.
Drywall panels are also known as plasterboard, gypsum board, or wallboard. Many people believe they are just mineral gypsum between two sheets of paper. Even though gypsum constitutes most drywall panels, cellulose and gypsum plaster are also used.
In addition to the drywall panels, a wall system also relies on the joint compound, or putty, which covers the tape that seals the connections between panels. Powder or ready-to-use putty are two options for drywall and jointing compound, respectively.
There are several different varieties of drywall that are better suited to certain situations, such as in a bathroom or a kitchen. When making specialty drywall, additional additives or ingredients are needed.
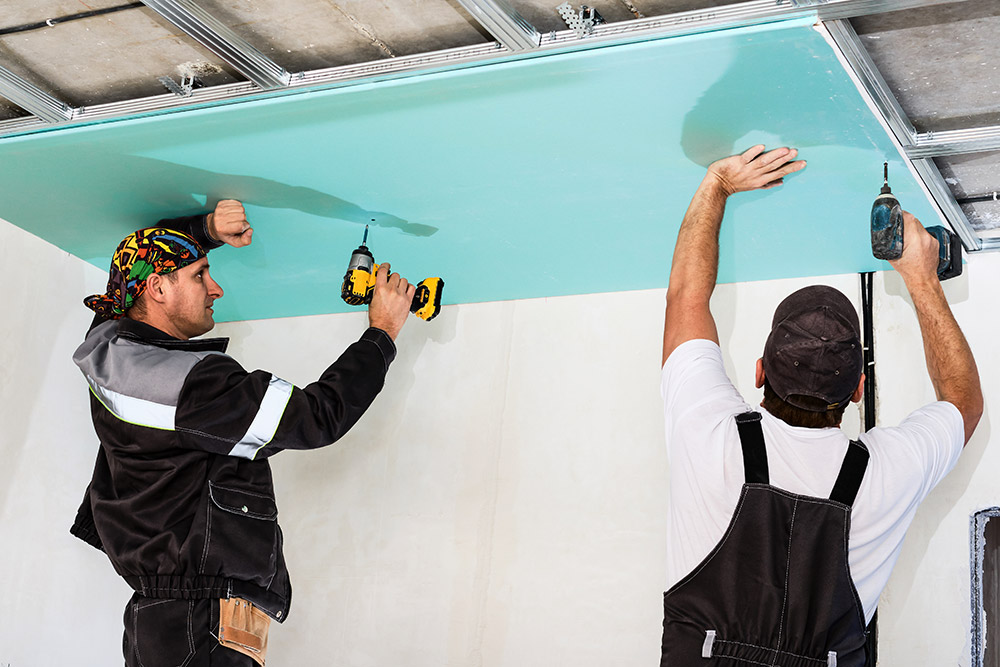
Here’s a step-by-step tutorial to drywall installation to get you started:
No matter how large or little the building project, safety and preparedness are always the most important factors to consider. Check to see that you have the proper personal protective equipment, including helmets, safety vests, goggles, gloves, and safety shoes, on-hand before you begin the project.
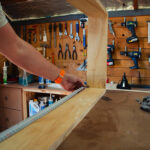
You’ll need the following items:
To figure out how much gypsum board you’ll need, divide the entire area of drywall and ceiling by the number of square feet of gypsum board. Although it does require some forethought to ensure that there are as few joints as possible, it is well worth the effort.
Check the dimensions of your supplies first. Then, before moving on to the following stage, make sure your metal frames are spaced evenly.
Safety and readiness are of the utmost importance in any construction job, large or small. Check to see if you have the proper personal protective gear, including helmets, safety vests, goggles, safety gloves, and safety shoes.
Prepare a flat, dry surface to place your drywall or gypsum boards. Once you’ve determined how much material you’ll need, make a mark on the fabric where you want to cut it. Make a T-square guide and cut along the lines.

If you’re installing USG Boral drywall, follow these steps:
Step 1: Double-check your measurements and the alignment of your frames.
Step 2: To temporarily support the frames, lay down packers (kalang).
Step 3: Measure 10mm away from the board’s edge before fastening the tapering edge. Screw heads should be flashed with the gypsum board before installation.
Step 4: Install screws at a distance of 200mm from the board’s edges, if possible.
Step 5: Space out the board joints.
Step 6: A single side of the wall can be completed by repeating
Step 7: Use screws no more than 300mm apart to attach the board’s center.
Step 8: The compound can be used to fill in the gaps between the boards.
Spread the jointing compound with a 4-inch taper knife along the seams. The joints in your drywall sheets or gypsum boards should be in the center of this initial layer (tape coat), which should be four inches wide.
Wrap the joints in joint paper tape. Applying a chemical to the surface will help keep it there. Tape over the paper seam with a second coat of tape, using only enough to keep it in place with your 6-inch taping knife. USG Boral boards and compounds are smooth and seamless; therefore, a skim coat is needed to follow this step. That’s it! I hope that this Drywall installation guide was useful to you.


2 Responses
it’s not very easy. I tried it two or three months ago and ran into some troubles.
Yes you are right, that’s why it’s best to outsource this 🙂