Welcome to CondoCosmetics INC.
Installing laminate flooring yourself is so simple that you’ll wonder why anyone would hire a professional to do it for them in the first place. There are no grout lines, mortar joints, and adhesives, install laminate flooring Toronto is a dry installation. On the other hand, laminate flooring does not need to be hammered down because it snaps together and lies flat.
The subfloor or underlayment is not linked to laminate flooring, making it a floating floor covering. To put it another way, the whole process of installing laminate flooring is akin to piecing together a giant puzzle.
See how the laminate planks fit in the room before you buy them. To find out how much space you have, it’s best to look at the floor plan.
Planks should be arranged in a straight line across the room. You can either lock the side joints together or butt the planks against each other; be careful not to walk on the floor if the joints are not fastened together.
Layout a long strip of planks end to end as you continue to install laminate flooring Toronto. Avoid securing the planks to each other. In addition to making it difficult to open, this could also harm the edges.
Before placing the laminate, floor makers always recommend laying down an underlayment. In addition to providing a heat barrier and making the laminate flooring more comfortable to walk on, this thin but dense foam layer also aids in the flooring’s ability to bridge small gaps and bumps in the subfloor.
Underlayment sheets should be rolled out and trimmed to fit snugly around each other, but they should not overlap. The manufacturer’s instructions state that you should use seam tape to keep your garments together. Adhesive edges are included in some underlayments, used to bind the pieces together.
Trim the underlayment to fit around the walls and impediments with a utility knife.
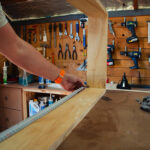
The boards that will be used to edge the first wall should have their tongues (no grooves) trimmed off. You can normally get the job done with a utility knife, a table saw, or a circular saw.
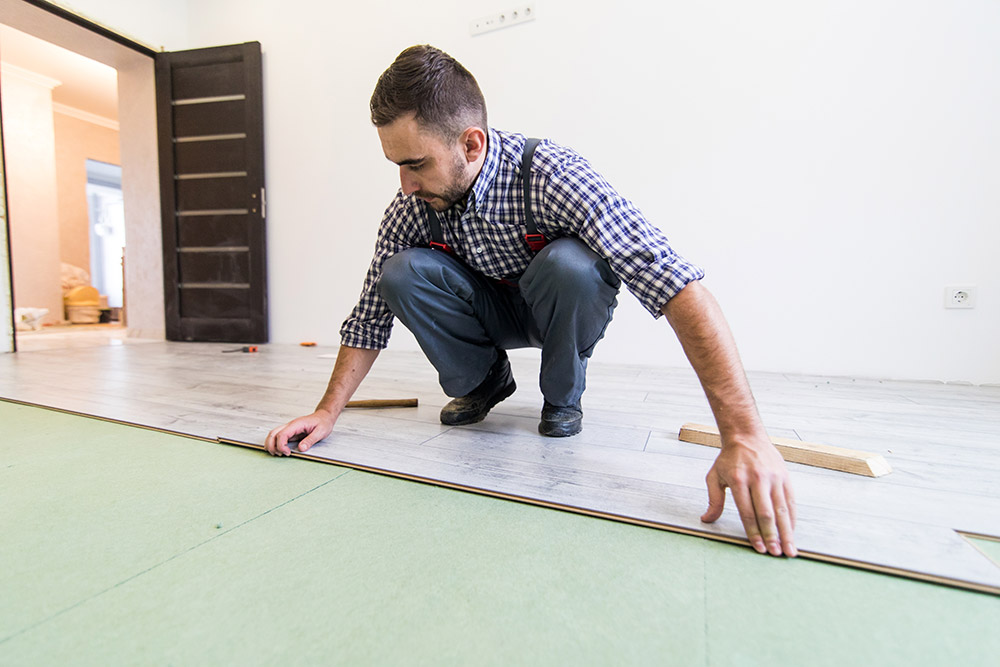
Planks that have been trimmed should be placed against a wall, with their trimmed edges pointing toward the wall. Work your way leftward from the right. Lay down a full-size board against the wall, spacing it about 1/4 to 3/8 inch (as instructed by the manufacturer) away from the wall and ensuring that the groove edge faces outwards. Maintain the spacing between the floor and the wall with scrap wood spacers.

The last plank will probably be too long when you get to the end of the first row. Using a full-size plank as a template, measure from the right to the left side and cut it such that the tongue end of the plank may be used to put the last full plank together. Be sure to factor in the wall’s expansion gap while planning your project.
The last piece of each row is always cut off, starting the next row of flooring on the right with the cut-off piece from the left.
Laminate plank rows should be arranged randomly for a staggered, sawtooth effect. Structural stability would be compromised and aesthetics if this were to occur.
Install laminate flooring Toronto planks for the second and subsequent rows.
They should be installed similarly but a bit different from the first row. Hold each piece of the flooring at a 45-degree angle and place its long tongue edge into the groove of its preceding row, then lower it flat to the floor to secure it in place. Finally, use the hammer and tapping block or pull the bar to tap the piece into its neighbor in the same row (on all but the first piece in each row).
Once the final row of boards has been installed, you’ll need to rip them to finish the room’s flooring. Rip the last row of planks, considering the 1/4-inch expansion gap between the floor and wall—Mark the boards. Use a circular saw, table saw, or jigsaw to remove the final row of planks from the wall.
Like previous ones, install laminate flooring Toronto’s last row of ripped planks.