Welcome to CondoCosmetics INC.
Replace your old, worn-out, or broken inside doors to give your property a fresh new look. Interior doors installation can be done in a few simple steps.
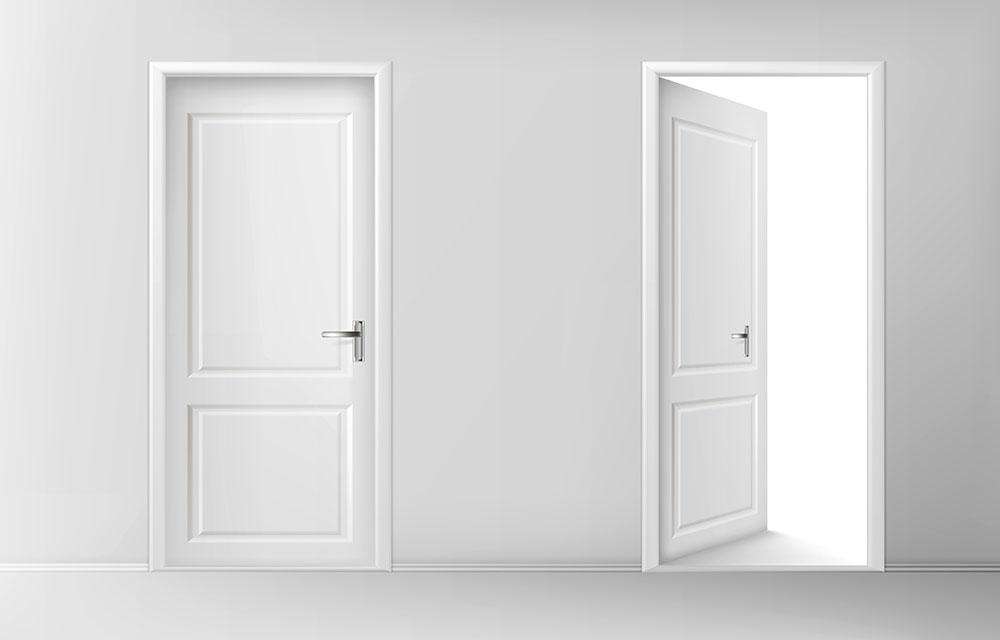
A complete internal door with frame and door is what you need if your door frame is damaged. A slab, commonly known as a blank door (shown), is fine if your frame is in good condition. When it comes to choosing a style for your home, there are a wide range of options.
For Interior doors installation, be sure to have the correct swing, which is dictated by where the hinges and door knob are placed. Stand with your back to the hinges of the door once it has been opened. You need a left-handed door if the doorknob is on the left. Choosing a right-handed door if the doorknob is on the right is recommended. In some cases, blank doors have a predetermined swing path. These doors have a beveled edge on the strike side (the side with the lockset) to allow the door to swing freely.
Interior doors installation is listed in the following phases.
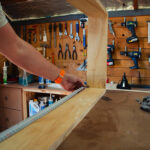
Carefully remove the internal trim by scoring around the present shell using a utility knife. Trim will be needed in the future, so save it now.
Remove the old door, frame, and jamb from the wall.
To ensure appropriate fit, temporarily insert the item into the opening. Both the height and width of the opening must be at least one-half inch greater than the door unit itself.
Make sure the wall framing is square and plumb. Check the aperture from top to bottom and right to left using a 6′ level to make sure it is square and plumb. Make sure the floor is level. The next step should only be taken if all of the previous steps have been completed correctly.
Be aware that door difficulties are often caused by out-of-square or out-of-plumb wall construction circumstances.

Make that the hinge side of the jamb is at a level with the rest of the door unit. Hinge jambs should be shimmed behind each hinge point. Re-check that everything is level and square before moving on to the next step. Using #10 finish nails, fasten the hinge jamb to the opening in the wall. At each shim position, nail the stop, jamb, and shims in place. It’s not a good idea to do your nails right now.
As with the hinge jamb, align the strike side of the jamb and temporarily secure it in place.
In the same way, shim and temporarily secure the jamb head.
The door unit should be checked for squareness and plumb again. Make sure the door slab and jamb have the same amount of space between them. Inspect the system. Every 12 inches, use #10 finish nails to attach the stop, jamb, and shims in place. Shims should be cut and trimmed.
Every 12 inches, fasten the door casing in place with #10 finish nails. All fastener holes should be set and filled in. Finished work on your door can begin at this point. Proper frame shimming and fastening are essential to the long-term performance of your machine.
Carpenters could readily modify their work, make alterations, or repair errors when the door parts were put together piece by piece in the olden days of handcrafted construction. Internal door assembly is done mainly off-site, thus a mistake made when you make an order might transform a perfectly acceptable unit into garbage. These are the first two measures you should take to make sure that doesn’t happen.
For interior doors, rough apertures of 2 to 2 12 inches larger than the jamb dimensions are standard. Jamb depth must correspond to wall thickness, including drywall or plaster. The trimmers should be plumb, parallel, and square to the wall and header if the opening is already there.
Instead of stating your preference for the doorknob’s location, indicate which side you prefer it to be on when the door is being opened toward you. It’s up to them to discover the door’s “handedness.”